Looking to Add a Little Pizzazz to Your Landscaping Project? European Pavers Southwest is the Best Choice for Your Paver Installation Process.
Our elite team of installers is second to none. With decades of experience, our professional installation team is quick and efficient, providing quality and unparalleled attention to detail that other paver companies lack when it comes to the installation process. We also put you at ease by offering our customers the top in Quality & Warranty. European Pavers Southwest is committed to adding beauty and value to your home by transforming your outdoor living space with little or no hassle.
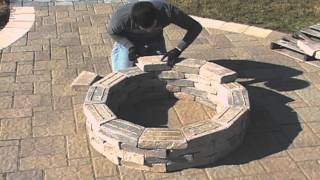
Installing pavers for a walkway, patio or even a driveway is easier than you’d think. While the materials can be heavy and sometimes difficult to move into place, once the paver installation is complete, the results are nothing short of amazing! These videos will walk you through the process of laying pavers over concrete.
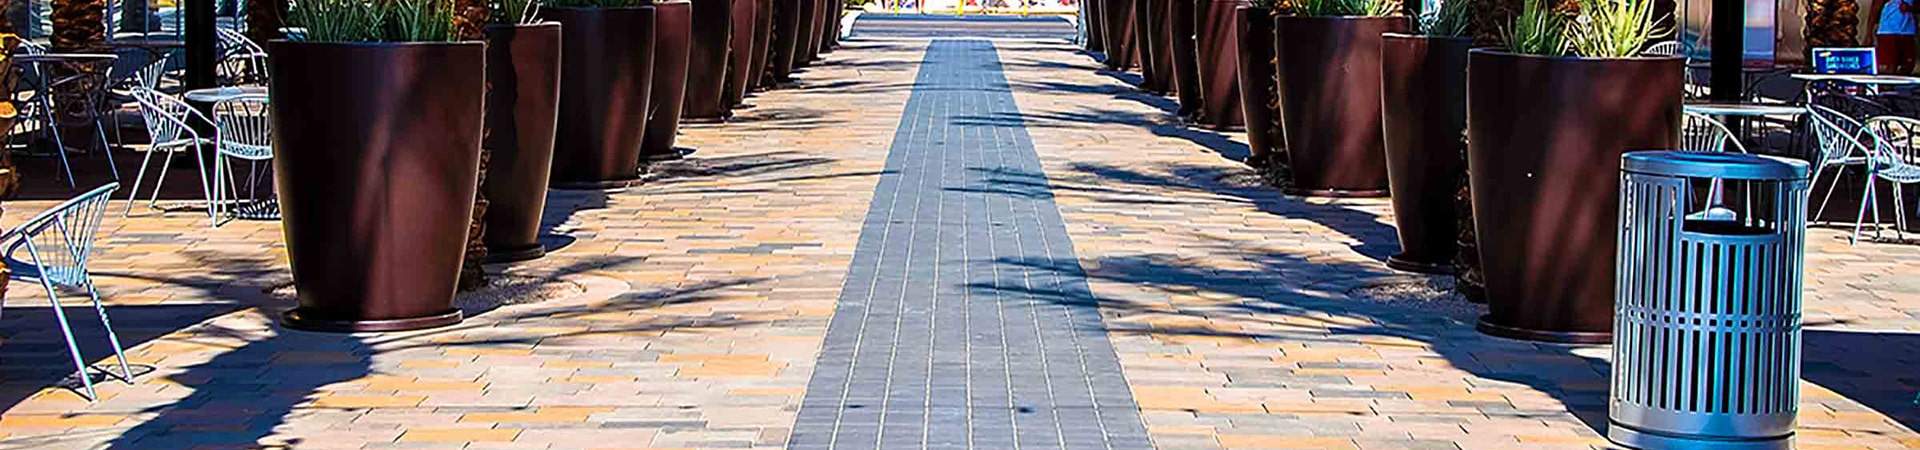
Looking to give your property a durable driveway, a whimsical walkway, or creating a space for your family? Concrete or brick paver can help any yard or storefront look its best. They’re versatile, and long-lasting, and you can customize your design to be as dramatic or as low-key as you want. When it comes to installing pavers, every installation process is different, but below are a few of the steps that take place. You can also watch videos provided by our manufacturers to see the process in action.
Paver Installation
At European Pavers Southwest, we take the time to not only provide you with quality products but with quality work as well. We believe in taking the extra effort to make sure all our projects are handled professionally, as described in the following 10 step process.

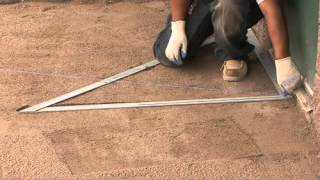
Planning
If you don’t already have a diagram of the area you want to pave, we will take the time to help create and design the plans with you, taking note of any existing structures (buildings, fences, and other paved areas).
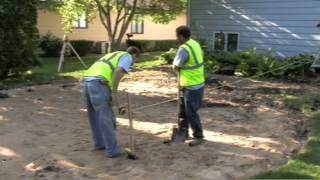
Preparation
Our crew will paint or stake out an area approximately 12 ft. larger than the area that you will be having paved. We will review all the blueprints and diagrams with our customer and discuss any possible obstacles that we may encounter on the project.
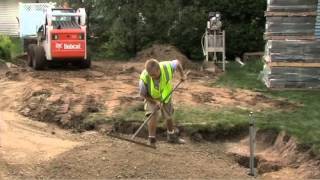
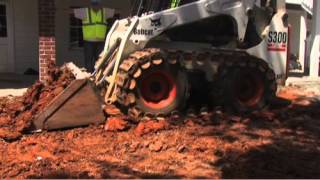
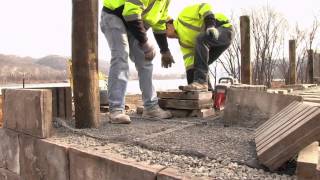
Excavating
We will excavate any excess and unstable subgrade material and clear the area where the pavers will be laid. For commercial properties, a compacted base will be placed, unless otherwise instructed by the Site Engineer.
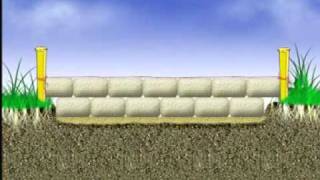
Installing the Base
We will compact the base material with a plate compactor where the excavation has taken place. In small areas, a hand tamper may be sufficient. The base material will then be dampened to help with the compaction process.
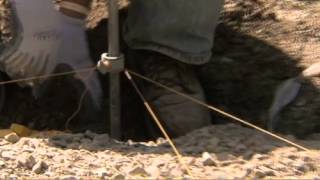
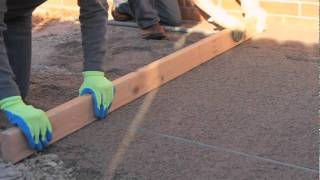
Installing the Restraints
Edge restraints should always be used to prevent the pavers from rolling or spreading.
Screening the Bedding Sand
Before the pavers are laid, a bed of sand must be prepared. We screed sand, making sure that the sand is smooth and level in the area that is being laid with pavers. If low spots are encountered we will fill the voids with sand and repeat the process until all areas are even.
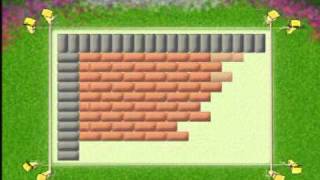
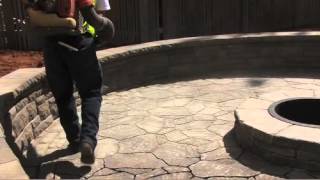
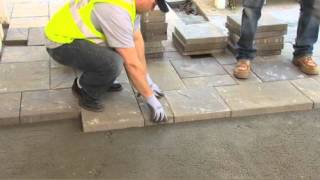
Layering Pavers
Starting in a 90° corner, we begin by laying the pavers in the pattern that was discussed in Step One. We work outwards from that corner, keeping all joint lines straight using string lines pulled along joint lines and or chalk lines snapped on the surface of the sand bed to keep the joint lines straight.
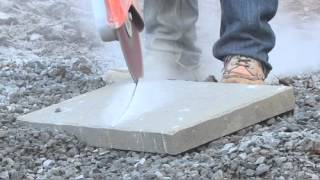
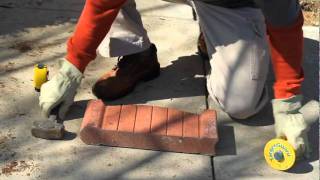
Cutting Pavers
Our trained employees will measure and mark the pavers on the perimeter edges that require cutting. Using a diamond blade saw, we will cut the pavers, keeping the edge stones to one-half of a paver if possible.
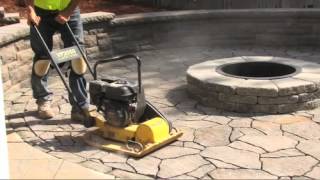
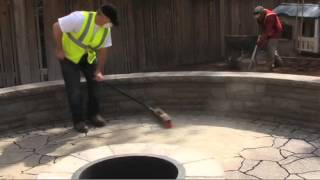
Compacting & Setting
We will begin the compacting and setting process by sweeping the surface to remove any excess debris. We will then spread a fine sand over the surface that will be swept into the joints, leaving a surplus of sand on the pavers. Using a plate compactor, we will then tamp the pavers down.
Finishing
Finally, our crew of skilled professionals, will sweep the remaining excess sand over the surface. Using a hose and a broom, we will fill in the pavers joints, making sure that any and all voids left in the joints of the pavers are completely filled.